
Welcome back to the DIY Asphalt Shingle roof guide Part 3.
NOTE “This guide is for an IKO shingle system other manufacturers may have slightly different instructions”
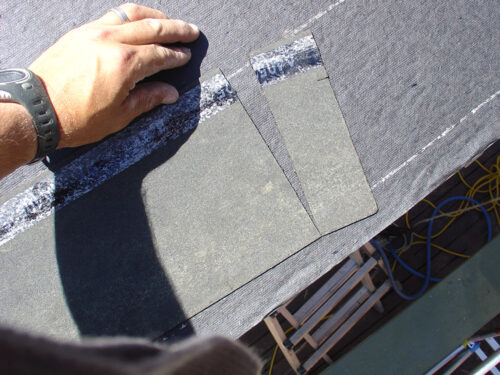
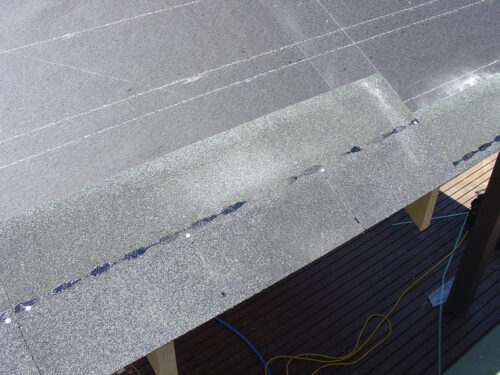
You cut 100mm off the starter course to create an offset with the next course.
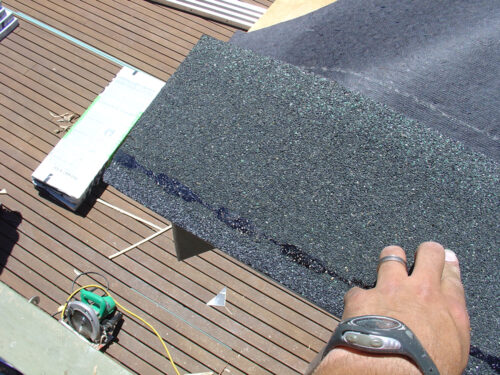
We start the starter course at the edge of the hip lining the top edge with the chalk line. The adhesive glue is on the bottom edge and seals up the first visible row of shingles.
But the starter shingles up together tight.
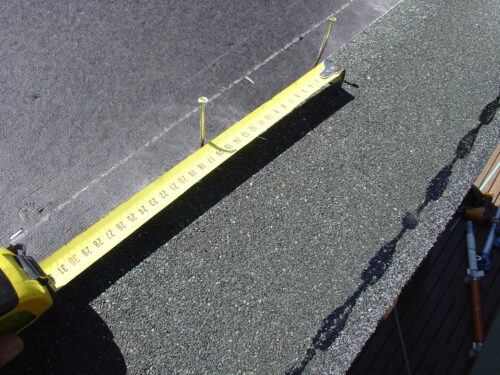
Now choose a spot in the middle of the roof in the middle of the starter course. Tack two nails 165mm apart to align the shingles vertically.
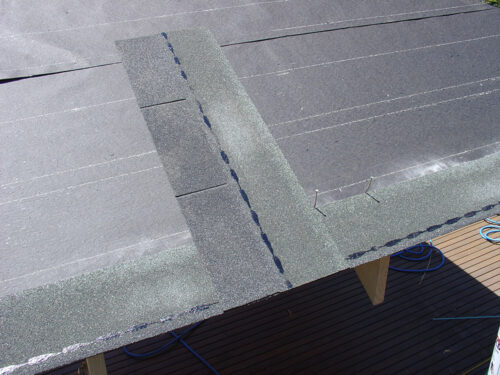
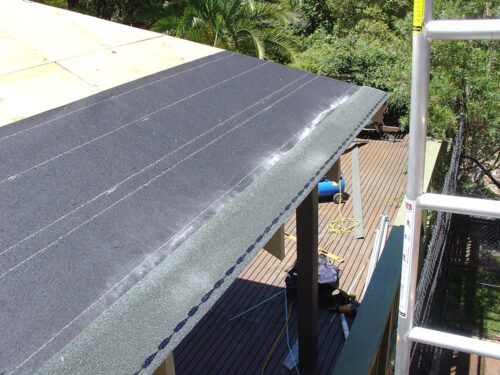
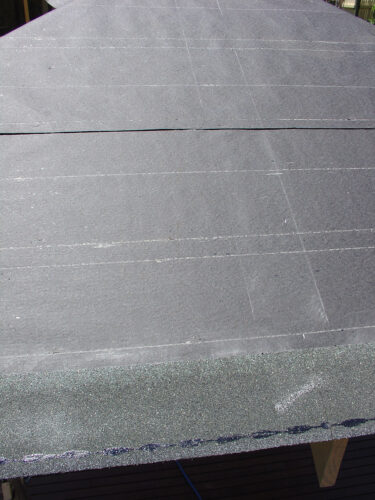
An easy way to find a vertical line is to use an asphalt shingle and your eyes. Adequate on small gazebos. On homes, you will need to find the exact 90 degrees angle as small differences will show over distances. You will need to use a right-angle triangle calculator to find the measurements for this. Snap a second chalk line at 165mm and you have your vertical lines to follow.
Now we are ready to install the first visible row of shingles.
Click here to go to the DIY roofing for covered patios, gazebo’s, pergolas Guide Part 4