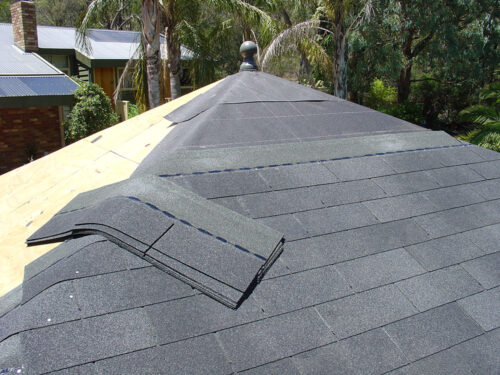
Finally, the principal preparation is complete, and we can install the asphalt roof shingles on the Bali hut roof. Line the bottom edge of the first VISIBLE course of shingles with the starter course and the right-hand side with the vertical chalk line—Hammer 4 clout nails in the shingle just above the cut-out and on either end.
TIP “We use 17mm ply with standard GAL clout nails so the nails don’t punch through”
Thanks, Dad! Most of the videos were great, but this one was more like most deleted.
Now, we line up the asphalt shingles on the vertical chalk lines in this video. The video also shows a trick with the manufactured cut-outs in the shingle. The shingles also have cutouts on the sides. You can use these cutouts to measure the exact height of the next course of shingles. You can line up the next course of shingles by sliding down off this cutout.
Now we nail four nails per three-tab asphalt roofing shingle just below the glue line and above the cut-out.
TIP “Six nails is used per asphalt shinglein high win zones. We use two nails on either side of the cutout approx. 5mm apart and a nail on either end 5mm”
With the IKO Marathon shingles, you should use a vertical chalk line every 4 vertical courses. We measure 145mm up from each course on both ends and snap a chalk line. We follow this line to keep the horizontal lines straight.
TIP “On a home roof thisis an issue as the lines arer very important.”
Here I am cutting the capping pieces off a standard three-tab shingle. We create three capping pieces from each shingle. I cut the capping pieces on an angle to make the hip and ridge linen perfectly straightly.
TIP “21 pieces of one metre three-tab shingles converts into 63 capping pieces. these cover 8.8 lineal metres of capping”
Now we need to learn to cut the hips with a hook blade knife. You can cut the shingles from the top with the hook blade.
TIP “You can buy a hook blade at bunnings tool shop.”
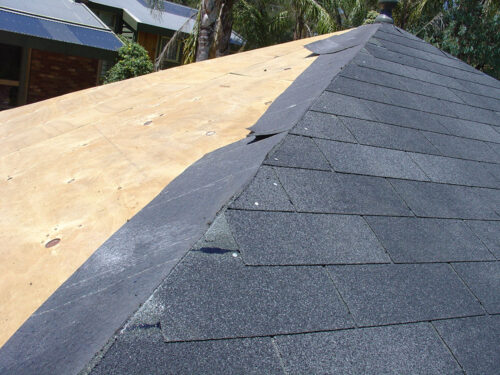
Now we cut our capping from our three-tab asphalt shingles. We snap a line 165mm from the side of the hip. This gives us a straight line for our hip to follow. The first capping piece overhangs the corner, so the middle meets the corner. You can cut the edges away after. The capping pieces are installed up the hip every 145mm.
We install the ridge capping in the same way.

Courses of asphalt shingles running up the roof
We layer the asphalt shingles up the roof at a 145mm pattern.
TIP “When walking over an asphalt shingle roof, be sure to wear basic runners – not hard work boots.”

Running a chalk line down the hip makes cutting easier.
Hip chalk lines are essential.

Cut straight down the hip. Easy stuff… Are we there yet… Nearly.

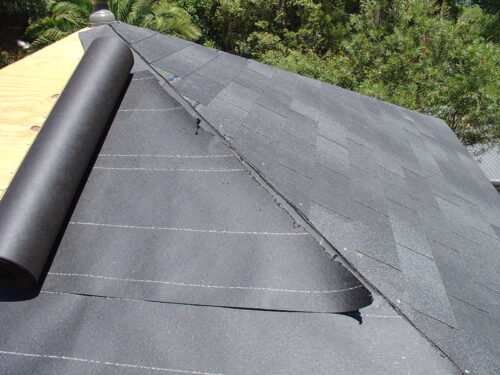
Reuse the diagonal cut on the felt on the other side of the roof.
Try to us the opposite side of the synthetic underlay on the other side of the roof.

Finishing the last hip
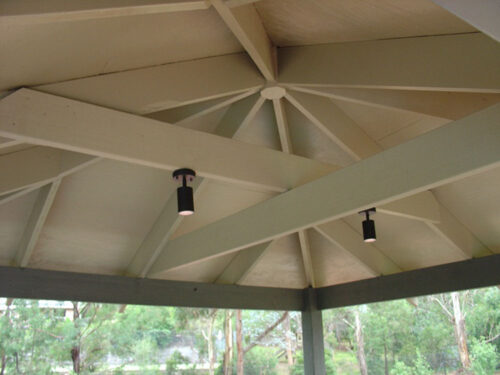
Hooray. Finishing the roof. A beautiful outdoor gazebo roof complete with painting on the underside and optional extras.


Finished Outdoor gazebo.

Great result. A long-lasting gazebo made on the cheap with D.I.Y.
TIP “Decent size wood was used with this gazebo, giving it a stronger form.”
Thank you for reading my DIY Asphalt Roofing guide – please leave a comment or feel free to contact us to ask any questions
